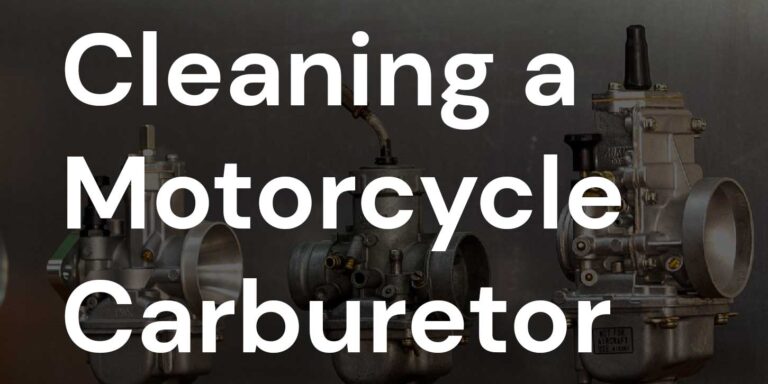
When it comes to solving the problems of a motorcycle carburetor, it can be a little difficult to take it off your bike, disassemble it part by part, and then look for the problem that is causing it to fail. Although, the overall mechanism is not very complex, there are several small parts involved in the process that can easily get lost.
Motorcycle carburetors are designed to mix the fuel and air that enters them to create a combustible mixture. This process can be hampered by many things, including dirt, debris, rust, or even lack of use. And if one of these problems isn’t dealt with quickly enough, it can lead to clogging issues which will hinder the engine’s ability to run properly.
It would be great if you could clean your motorcycle carburetor without disassembling it from your bike and the best part is, it’s absolutely possible to do so. Here are 5 steps by which you can clean a motorcycle carburetor without removing it completely –
6 Steps to Clean a Motorcycle Carburetor (Without Removing It)
Step 1: Wash Your Bike
Step 2: Remove the Air Filters
Step 3: Clean the Jets
Step 4: Clean the Membrane
Step 5: Clean the Carburetor with Sea Foam
Step 6: Use an Air Compressor to Clean the Carburetor
Step 1: Wash Your Bike
The first step towards cleaning your motorcycle carburetor without removing it from the bike is to get the dirt off of it. Before you get into the dirt and debris present inside the carburetor, it is mandatory that you clean and shine your bike thoroughly, without leaving an inch of space.
Start by washing the exterior and the engine of your bike, taking particular care with the carburetor. The more grime you remove from it, the easier it will be for you to clean it later on.
A thorough wash of your motorcycle removes dirt, mud, sand, and any asphalt residue that gets stuck near the engine area of your motorcycle. Depending on the body of your beloved bike, it is also recommended that you remove the fairings and the saddle from it as that will ensure the cleaning is done effectively.
Step 2: Remove the Air Filters
After you have washed your motorcycle and removed any debris and dirt from it, it is time to remove the air filters. These filters sit directly inside the carburetor and restrict the amount of dirt that enters it.
The air filters can also be present either inside or behind the airbox. After removing the air filters, you can use either compressed air or filter cleaner to clean them.
Removing these filters will increase airflow and allow for a more effective cleaning of the carburetor. This way, you can open up those areas where there was a buildup of dirt and now they are easy to remove by using a brush or again, compressed air.
Remove all hoses or connections to clean them of the residue of dirt, sand, mud, and asphalt – clean them thoroughly.
To be on the safer side, you can take some pictures of the air filters along with all other hoses, before cleaning them, so that later you do not end up getting the wrong connections.
Step 3: Clean The Jets
If the clogging is not severely damaging, you can use a cleaning spray to clean the fuel injectors of your motorcycle. This spray will make it easier for you to remove any dirt from these parts, without having to take them out separately, and in turn, will help in freeing up the movement of the valves nearby.
This step can be perfectly executed to clean a motorcycle carburetor without removing it but should only be done if you have been religiously changing your oil on time. This is because if your jets are clogged because of oil deposits, then these sprays will dissolve them and clean the jets quickly.
If you have not kept up with changing your oil, then this step cannot take place until you change the oil first and that brings us to our next step.
Step 4: Clean The Membrane
Just below your motorcycle’s carburetor, you will find a diaphragm, which is connected to a spring and this is the thin membrane you can clean if you wish to get a clean carburetor.
The membrane is responsible for regulating the air-fuel mixture that goes into your bike. If this area is not cleaned thoroughly, there will be a buildup of dirt and gunk in it. To prevent dirt from reaching this membrane, you can use a cleaning spray to clean the carburetor of your motorcycle without removing it.
This step is highly recommended if you want to clean the areas below the throttle plates and jets, which you would otherwise not be able to reach without removing your motorcycle carburetor.
Step 5: Clean Carburetor with Sea Foam
This is the easiest method of cleaning a motorcycle’s carburetor without removing it. If you wish to clean your motorcycle’s curburetor in your garage, you can do this easily without having to take the carburetor apart.
Sea Foam is a powerful cleaner that comes in concentrated form and needs to be diluted before use. This particular brand of cleaner can break down and dissolve any residue stuck in the carburetor of your motorcycle, and you can do it without taking the carburetor apart.
Before you use this cleaner, you must read the instructions as to how much water should be added to make it less powerful. There are also several brands of Sea Foam that require to be mixed with either the engine oil or the fuel you use.
This step is again only recommended if oil deposits are present on the membrane or valves because otherwise, it can damage your motorcycle carburetor damage by restricting the movement and clogging it up even more.
Step 6: Use an Air Compressor to Clean the Carburetor
This is yet another method for cleaning your motorcycle carburetor without having to take it apart, however, you will require an air compressor.
You can use it to blast away any dirt or gunk that has made its way into the throttle shafts, valves, and membrane. To use this method of cleaning a motorcycle carburetor without disassembling it, you need to remove the air filter from the carburetor first so that there is no restriction on airflow while using compressed air.
Conclusion
People often neglect to clean their motorcycle carburetors, assuming that the engine will take care of this for them. How wrong they are! Dirty or clogged carbs can cause your bike to run poorly and may even lead to mechanical failure – which is not something you want when you’re on the road.
Hence, it is important to clean the carburetor of your motorcycle at regular intervals so that you do not have to face trouble later.
You can take help from this article How to Clean a Motorcycle Carburetor (Without Removing It), but if you are looking for visible results in a short time then book an appointment with a mechanic near you.


