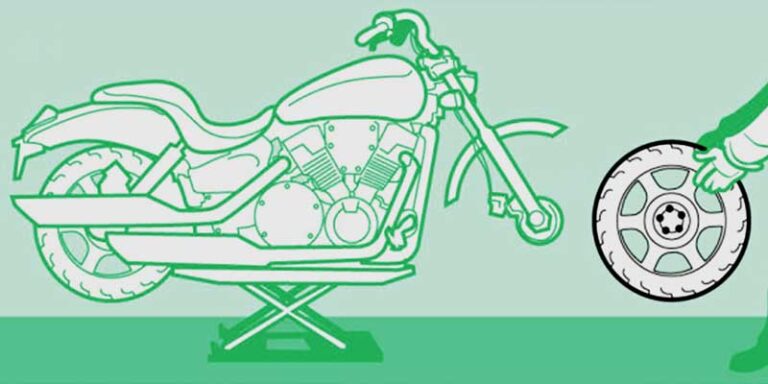
When it comes to changing motorcycle tires, many riders prefer to accomplish the task with a certified mechanic as opposed to doing it themselves. But situations may arise when you are stuck in the middle of nowhere with a flat tire and there is no way you can find a mechanic there.
So, how to go about the process then?
Don’t worry! In this guide, we are listing 13 simple steps which you can follow to change your motorcycle tire and related parts such as tire bead, tire levers, tire wall and tire iron without any hassle and all by yourself.
13 Steps to Change Motorcycle Tire
- Take the Schrader Valve Out
- Break the Bead
- Prepare to Lift the Tire Off the Rim
- Lift the Tire Off the Rim
- Get the Tire Past the Rim
- Lift the Tire Up Towards You
- Pull Out the Inner Tube
- Prepare the Tire to Refit
- Refit the Rim Strip
- Refit the Inner Tube
- Refit the Tire on the Rim
- Put Back on Your Wheel and Caliper
- Conduct Final Checkup
Take The Schrader Valve Out
The Schrader valve which is also called the American valve by many riders is the one that has a small pin and is found at the centre of your tire. You must unscrew this first with a valve stem tool before you can go ahead with removing your motorcycle tire. A valve core tool can easily detach the tire valve.
Do not forget to put the cap back on after you have taken out the Schrader valve. If you lose this part, then you will never be able to reinstall it later and deflate your tire.
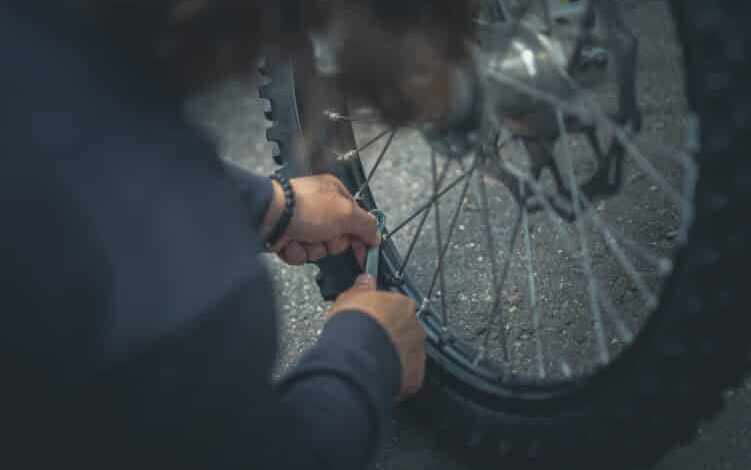
Break The Bead
The next step of how to change a motorcycle tire requires some patience from your side as well as some steady hands. If a tire bead breaks loose, it can be easily changed at home. However, when outside, carry extra for emergencies in the motorcycle stock box.
What you need to do here is get a bead breaker for the tire bead which simply means separating the inner sidewall (bead) from its outer counterpart (the body of the tire). To achieve this, all that you need is a blunt object or a bead breaker.
Some people use the edge of a hammer, others use a screwdriver or a rock. Whichever way you choose to do it, make sure that the force that you are using is steady and consistent. A bead breaker is the most helpful equipment.
Prepare To Lift The Tire Off The Rim

Once you have successfully broken the bead, the next step would be to prepare your motorcycle for lifting the tire off the rim.
To do this, you need to loosen up the bolts which are found on either side of your wheel. Do not remove them completely though; just loosen them enough so that the tire can be lifted off easily.
Lift The Tire Off The Rim
Now comes the time when you actually have to lift the tire off the rim.
This is easier said than done though since, if you are not careful enough, your tire can slip out of your hands and cause some damage to both yourself as well as your motorcycle.
To avoid this, tighten up each side independently before lifting it off completely after which you will have to tighten them again so that they are secure onto the wheel.
Get The Tire Past The Rim
Now that you have lifted the tire off the rim completely, what remains next is getting it past the rim without causing any damage. Since the brake rotor is connected to the tire spoons, you need accurate tools to change the entire tire.
If you have loosened up your bolts properly then there shouldn’t be any problem here but still, take care while doing this part just in case something goes wrong later on.
Lift The Tire Up Towards You
After you have got the tire past the rim, you will now need to lift it up towards your body while still on top of the wheel.
Then, all that you will have to do is pull out that inner tube that will be found inside the tire.
Pull Out The Inner Tube
Now that you are able to lift your motorcycle tire up without any difficulty, chances are good that it contains an inner tube inside of it.
The inner tube is the one that helps in keeping the air pressure in your motorcycle tire. Since you are now changing your motorcycle tire, you will no longer need this so it is time to pull it out.
Make sure that this does not pop out as soon as you begin lifting and keep a steady pressure with both hands so that it doesn’t slip through either.
Once you have successfully pulled out your inner tube, shake off most of the air from it if possible before removing the cap off the valve. Then you will need to flatten it out so that you can use it later on if your new tire does not come with an inner tube.
Prepare The Tire To Refit
Now that you have removed your old motorcycle tire, it is now time to prepare the wheel rim for refitting.
To do this, all that you will need is a rag or any other form of cloth that you can use to rub off all the dust and grime present there. Avoid using anything corrosive since this may damage the metal in some way or another.
If possible, then try to clean up both sides before leaving them dry for now while proceeding with the next step of how to change a motorcycle tire.
Refit The Rim Strip
The next step would be to fit the rim strip onto your wheel rim before you can proceed with refitting the new tire there.
To do this, just stretch it out over both sides of the wheel rim and fasten it back in place while ensuring that no air can pass through anywhere along its path.
Refit The Inner Tube
Now comes the time when you will have to put back in your old inner tube inside your new motorcycle tire before lowering it down towards the wheel rim again.
If you find yourself having difficulty doing things here then all that you need is practice for this part alone should take care of it eventually.
Ensure that everything is tight enough in order to avoid losing air in the next few steps.
Refit The Tire On The Rim
Now comes the time when you actually get to put back your new tire on your wheel rim.
If you have refitted it correctly then there shouldn’t be any problem here but still, do take care while doing this part to avoid damaging either yourself or the bike later on.
Put Back On Your Wheel And Caliper
Finally, all that is left for you to do is put back everything starting with the wheel and calliper and work your way down to putting everything else back where they belong before taking a test drive down the road to see how things fare now and if anything was damaged along the way.
Conduct Final Checkup
To be on the safe side, do a thorough checkup of everything just in case something was missed out along the way.
Do another test ride on your motorcycle and make sure that everything is working as intended before you can finally call it a job well done and drive off with your new tire now fully fitted onto your bike.
Can a Dirty Motorcycle Helmet Affect Tire Changes?
When it comes to tire changes, many riders overlook the importance of cleaning their motorcycle helmet. However, a dirty helmet can indirectly affect the process. Dirt and debris that accumulate on your helmet’s outer surface can fall onto the tires, potentially causing imbalance or compromising the grip. Therefore, it is crucial to prioritize cleaning your motorcycle helmet regularly to ensure a smooth and safe tire change.
Conclusion
Replacing a motorcycle tire can be a daunting task for first-timers but with the right instructions, it can be done pretty easily. Just make sure that you follow each step carefully and do not try to rush things through as this may lead to further complications.
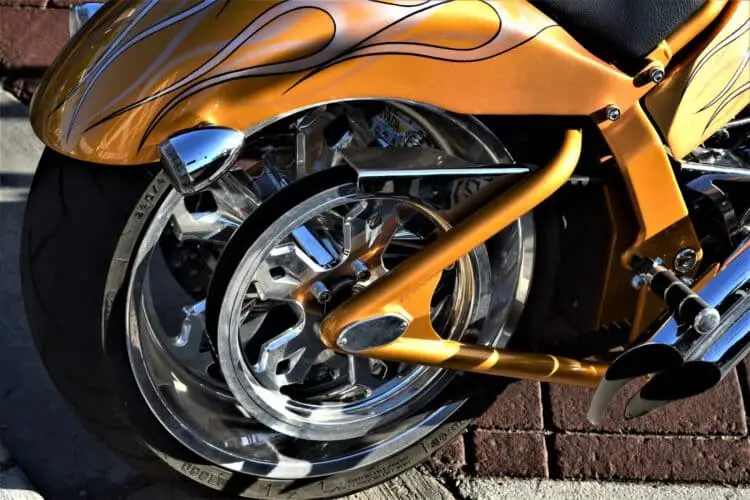
There is a wide variety of tubeless tires and rim protectors for different motorcycle models. You can customise your own motorcycle tires with tire irons or get a new tire for the rear wheel.
Also, it is always a good idea to have someone around to help out just in case something goes wrong. All in all, changing your motorcycle tire is not as hard as it seems and can be done in a matter of minutes with the right tools and know-how.
Happy motoring!